- Stitch >
- External Services >
- Configure External Services
Define a Service Rule
Overview
In order to call a service action, you must first define a service rule that enables and configures the capabilities of the action. You can define service rules from the Stitch UI or by importing a service configuration directory that contains a rule configuration file. Select the tab below that corresponds to the method you want to use.
Procedure
- Stitch UI
- Import/Export
Create a New Rule
You can create and configure a service rule from its associated service page in the Stitch UI.
To define a new service rule:
- Click Services in the left-hand navigation.
- Click on the service that you want to specify a rule for.
- Click on the Rules tab of the service.
- Click New Rule.
- Specify a name for the rule in the textbox that appears.
- Click Add Rule to confirm the creation of the new rule.
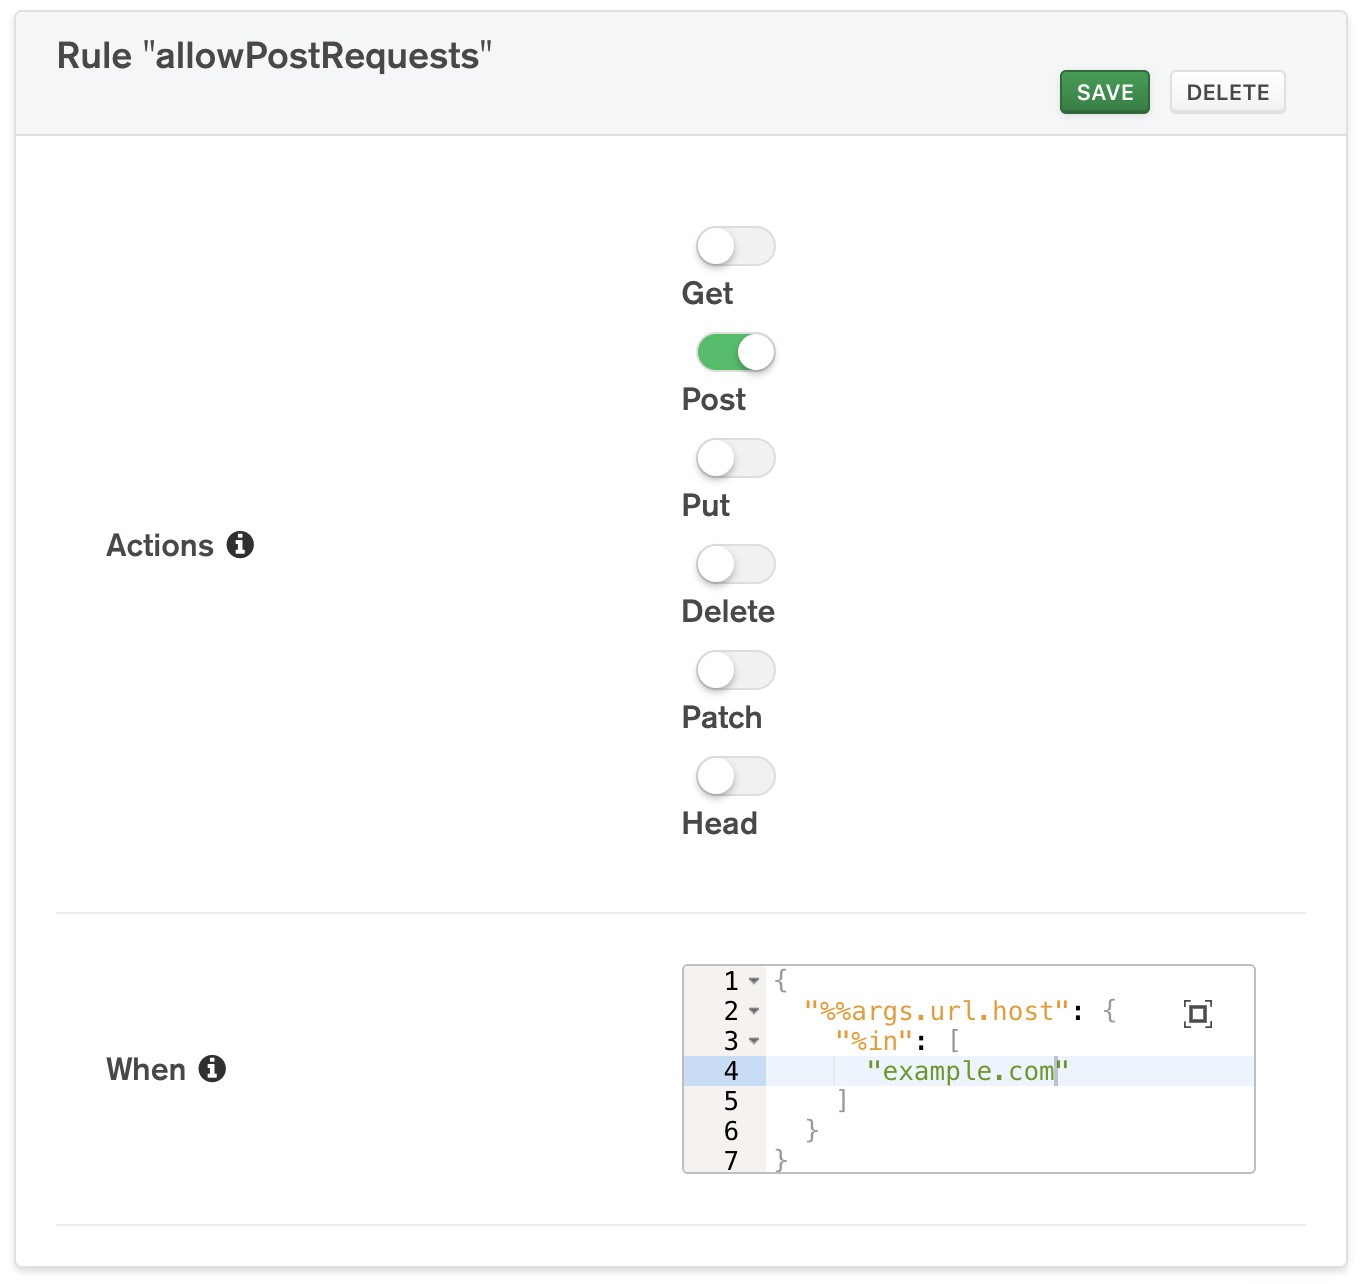
Configure the Rule
To configure the new service rule you just created:
Click on the newly created rule in the rules list on the left-hand side of the page.
In the list of Actions, select all of the actions that you want the rule to apply to.
For the When box, specify a JSON expression that will evaluate to
truewhen you want the action to be permitted.Note
If you specify
{}, the expression will always evaluate totrueand Stitch will always allow the associated actions to be called.
Save the Configured Rule
Once you’ve finished configuring the rule, click Save. Once saved, the rule takes effect immediately.
Export Your Stitch Application
To define a new service rule with stitch-cli, you need a previously created application configuration.
You can export your application configuration from the Export tab of the Settings page in the Stitch UI, or by running the following command from an authenticated instance of stitch-cli:
Create a Service Rule Directory
If it doesn’t already exist, create a new rules subdirectory in
the /services folder of the exported directory.
Create and Configure a New Service Rule
Add a rule configuration JSON file to the rules directory. The
configuraiton file should have the same name as the rule and have the
following form:
| Configuration Value | Description |
|---|---|
Rule Name name
|
Required. A name for the rule. The name should be unique within the service. |
Actions actions
|
Required. An array of strings where each item is the name of a service action that the rule applies to. Example An HTTP service rule that only applies to the
http.post() service
action would have the following |
When when
|
Required. A JSON expression
that determines if a service action should actually execute
after being called. Stitch will only execute the action if the
expression resolves to true. If you do not specify an
expression, Can Evaluate defaults to true. |
Import the Service Rule
Once you’ve configured the service rule, all that’s left is to import it into your Stitch application.
Ensure that
<rule name>.jsonis saved.Navigate to the root of the exported application directory.
Log in to MongoDB Atlas with
stitch-cli:Import the directory:
Now that you have imported the rule, it takes effect immediately.